Welcome to Flock! We're happy you're here.
With Flock, you can bring your team together, share information, discuss ideas, and take productivity to the next level. To help your business make the best start with Flock, we've put together this quick guide to walk you through the basics of creating a Flock team, inviting members and guests, creating Channels, and more.
Looking for more in-depth how-tos? Visit our Help Center for step-by-step guides to using and administering Flock for your business.
Create a new Flock team
Go to flock.com and enter your work email to sign up. Verify your email to set up Flock for your company or community—starting with a name for your new Flock team. Usually, this is your company name, so it’s easily discoverable for everyone in the organization.
Looking to join an existing team instead? Click on Find your team to search for it by name.
Once you’ve named your new Flock team, the next few screens walk you through creating your profile—don’t forget to add a cool profile pic!—and setting a strong password.
Invite team members and guests
Being the only player on a football field is no fun and it’s much the same with your new Flock team. Click the +invite button on the top-left to invite colleagues by email. It’s that simple. But this might not always be ideal, especially for large teams. Instead, invite your department heads and/or managers to Flock, and let them invite their team members, create relevant Channels, and start conversations. You can also invite multiple team members at once using the bulk invite feature in your Flock Admin Panel. Once people show up, it’s time to kick-start conversations.
Teams on Flock PRO can invite external collaborators—freelancers, agencies, or vendors—as guests and add them to specific project Channels to centralize all communication. Guests can only access conversations you add them to and cannot create new Channels.
Create public and private Channels
Channels are where the real magic of Flock happens. Put simply, Channels are group conversations about specific topics—a project, department, or shared interests. Public Channels are open to every team member (excluding guests), while private Channels are for closed-group discussions and require an invite.
Creating a Channel is simple. Simply click the + button on the top-left followed by the Create a new channel option. Team members can create multiple Channels to cover various needs—one Channel for each department and ongoing projects, and other Channels for common interests like industry news, pets, or even sitcoms! Kick-start conversations in your new Channel with a short intro that elicits replies, encouraging members to ask questions and share timely updates.
Share files, GIFs, and emojis
Your Flock is now talking, so let’s make those conversations more engaging and effective. Add context to conversations by dragging and dropping documents, photos, or spreadsheets into a Channel. Or click the + button in the message bar of any conversation and then click Attach to share local files.
You can also share files from the cloud directly in Flock—simply connect your Google Drive, OneDrive, or Dropbox account and you can browse through files in the cloud without ever having to fire up a new browser tab! Employees can share comments and feedback on shared files directly in Flock so keeping everyone on the page is easier.

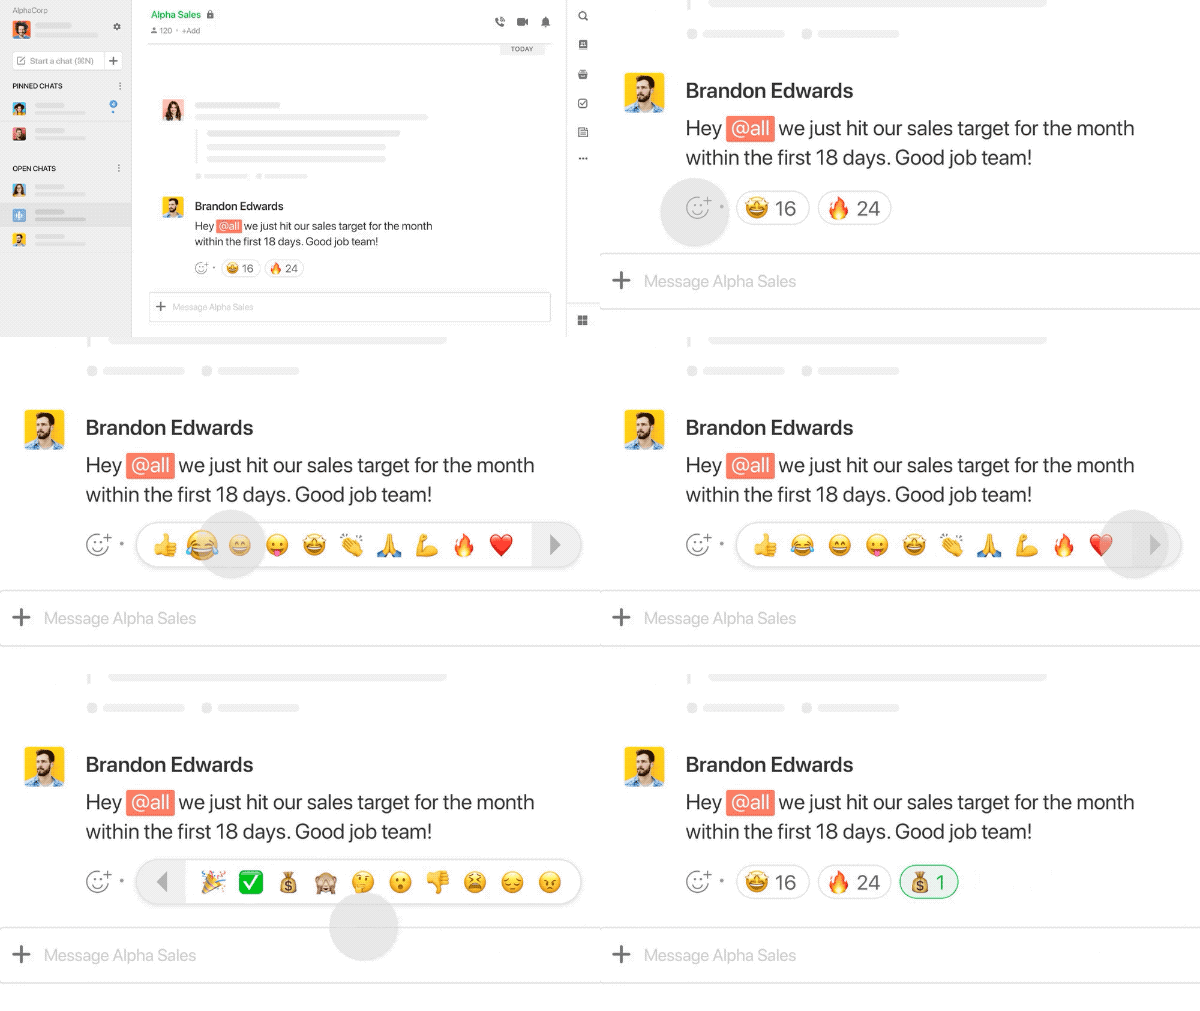
Spotlight your personality with GIFs, emojis, and reactions. Simply long-press a Flock message on mobile to bring up a list of reactions. Or try the emoji picker to say what you feel. Adding GIFs is simple, too. Hit the + button in the message bar and click Giphy to find the right GIFs for every occasion.
Host your first video meeting
We meet on video now more than ever as most of us work from home. With built-in video conferencing and screen sharing, Flock makes it easy to collaborate with your team no matter where they are. All it takes is a click.
First, navigate to the relevant conversation—a 1:1 chat with a teammate or a project Channel with a dozen coworkers. In the conversation pane, click the video button on the top-right. That’s it—a video call link is generated in that 1:1 chat or Channel for recipients to join in.
You can even share the link in another conversation to add someone to that call. Once you’re in a video call, sharing your screen works just like you’d expect. You click the Share Screen button and select the window you’d like to display to meeting attendees.
And that’s all there is to it. At this point, your flock is talking, meeting, and sharing files, with integrations piping in relevant information directly into Channels. As conversations bloom and your team gets comfortable, here’s how they can make the most of Flock.


