

 It’s a bird! It’s a plane! It’s a… shadowy figure on your webcam screen?
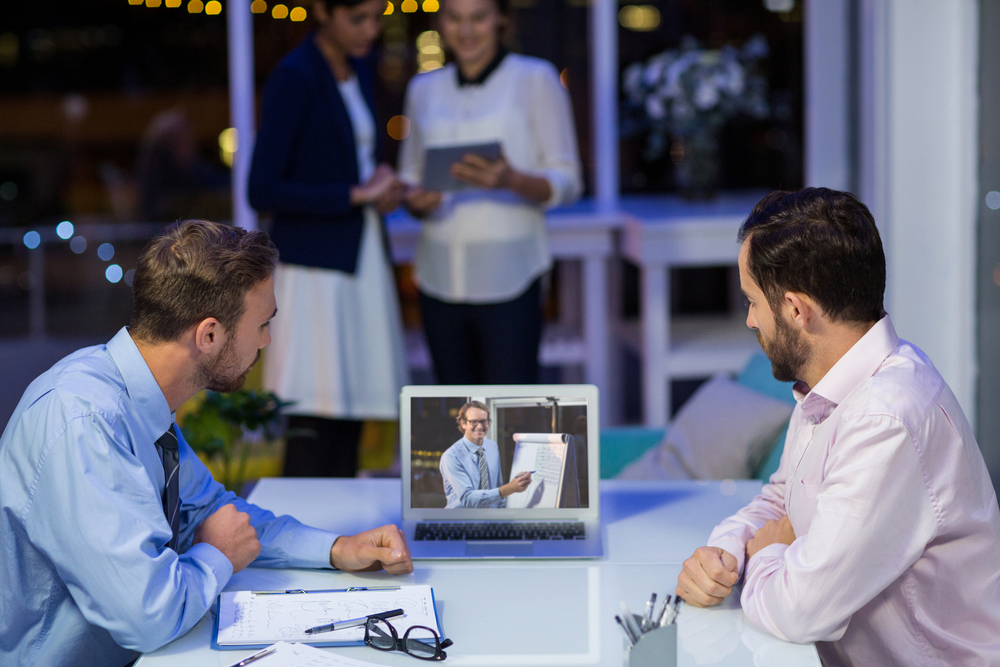
Video conferencing can be tough to get right, especially if you’re taking part in a video interview. One common mistake we see in a virtual meeting is the lack of proper lighting.
To have an effective video meeting, you have to be engaging. And you can’t do that if no one can see you. All webcam images or videos look best with good lighting, and there’s a lot of best practices to make your video call look great. Let's start with the best lighting for your video conference.
Here are some lighting scenarios to consider during your next webcam meeting:
- Look the part
- Light from in front, not behind
- Balance your light
- Watch your light position
- Get lighting equipment
- Test your setup

Look the part
This should go without saying, but dress to impress! Whether you’re hosting a videoconference, running a webinar, or having a 1:1 meeting, you’ll want to look presentable—and be visible—on your webcam. Proper lighting can mean very little if you aren’t looking your best.
Tips for looking good on webcam:
- Wear professional, comfortable clothing
- Avoid busy patterns, which could translate poorly on video
- Make sure your background is clean and appropriate
Light from in front, not behind
Webcams automatically record and adjust to the brightest source of light. And if that light is behind you, you’re no longer the focus. Avoid being backlit by making sure you’re facing toward, not away from, a window or another light source.
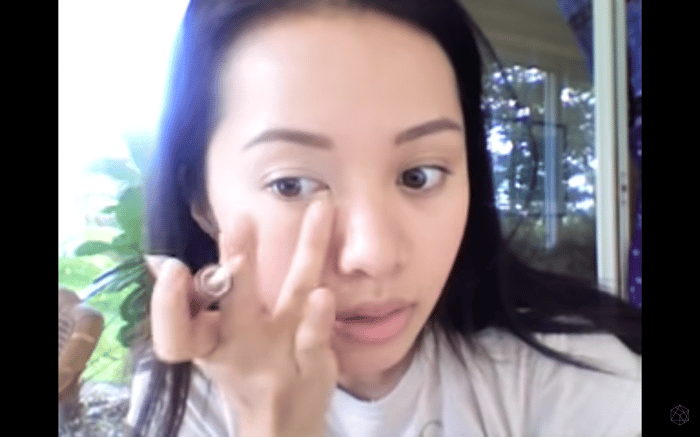
We love this pro tip from Wistia: if you don’t have a good forward-facing light source, open up a white image or Word document on your external monitor or laptop and use that as a light source on your face.
Learn more about how to increase productivity in the workspace
Balance your light
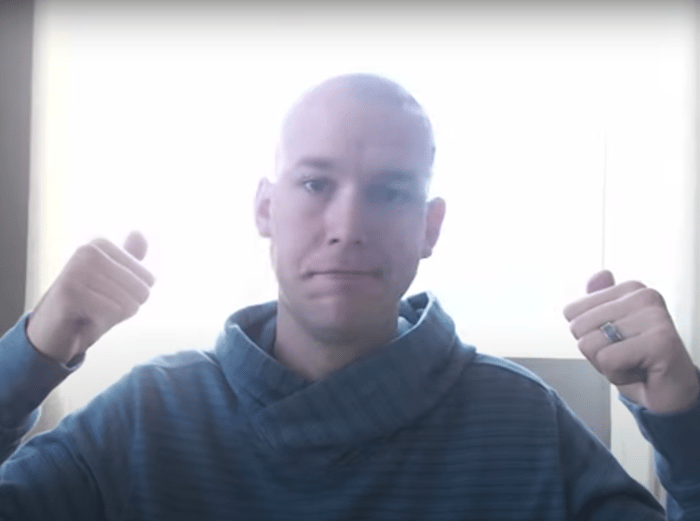
Use multiple sources of light
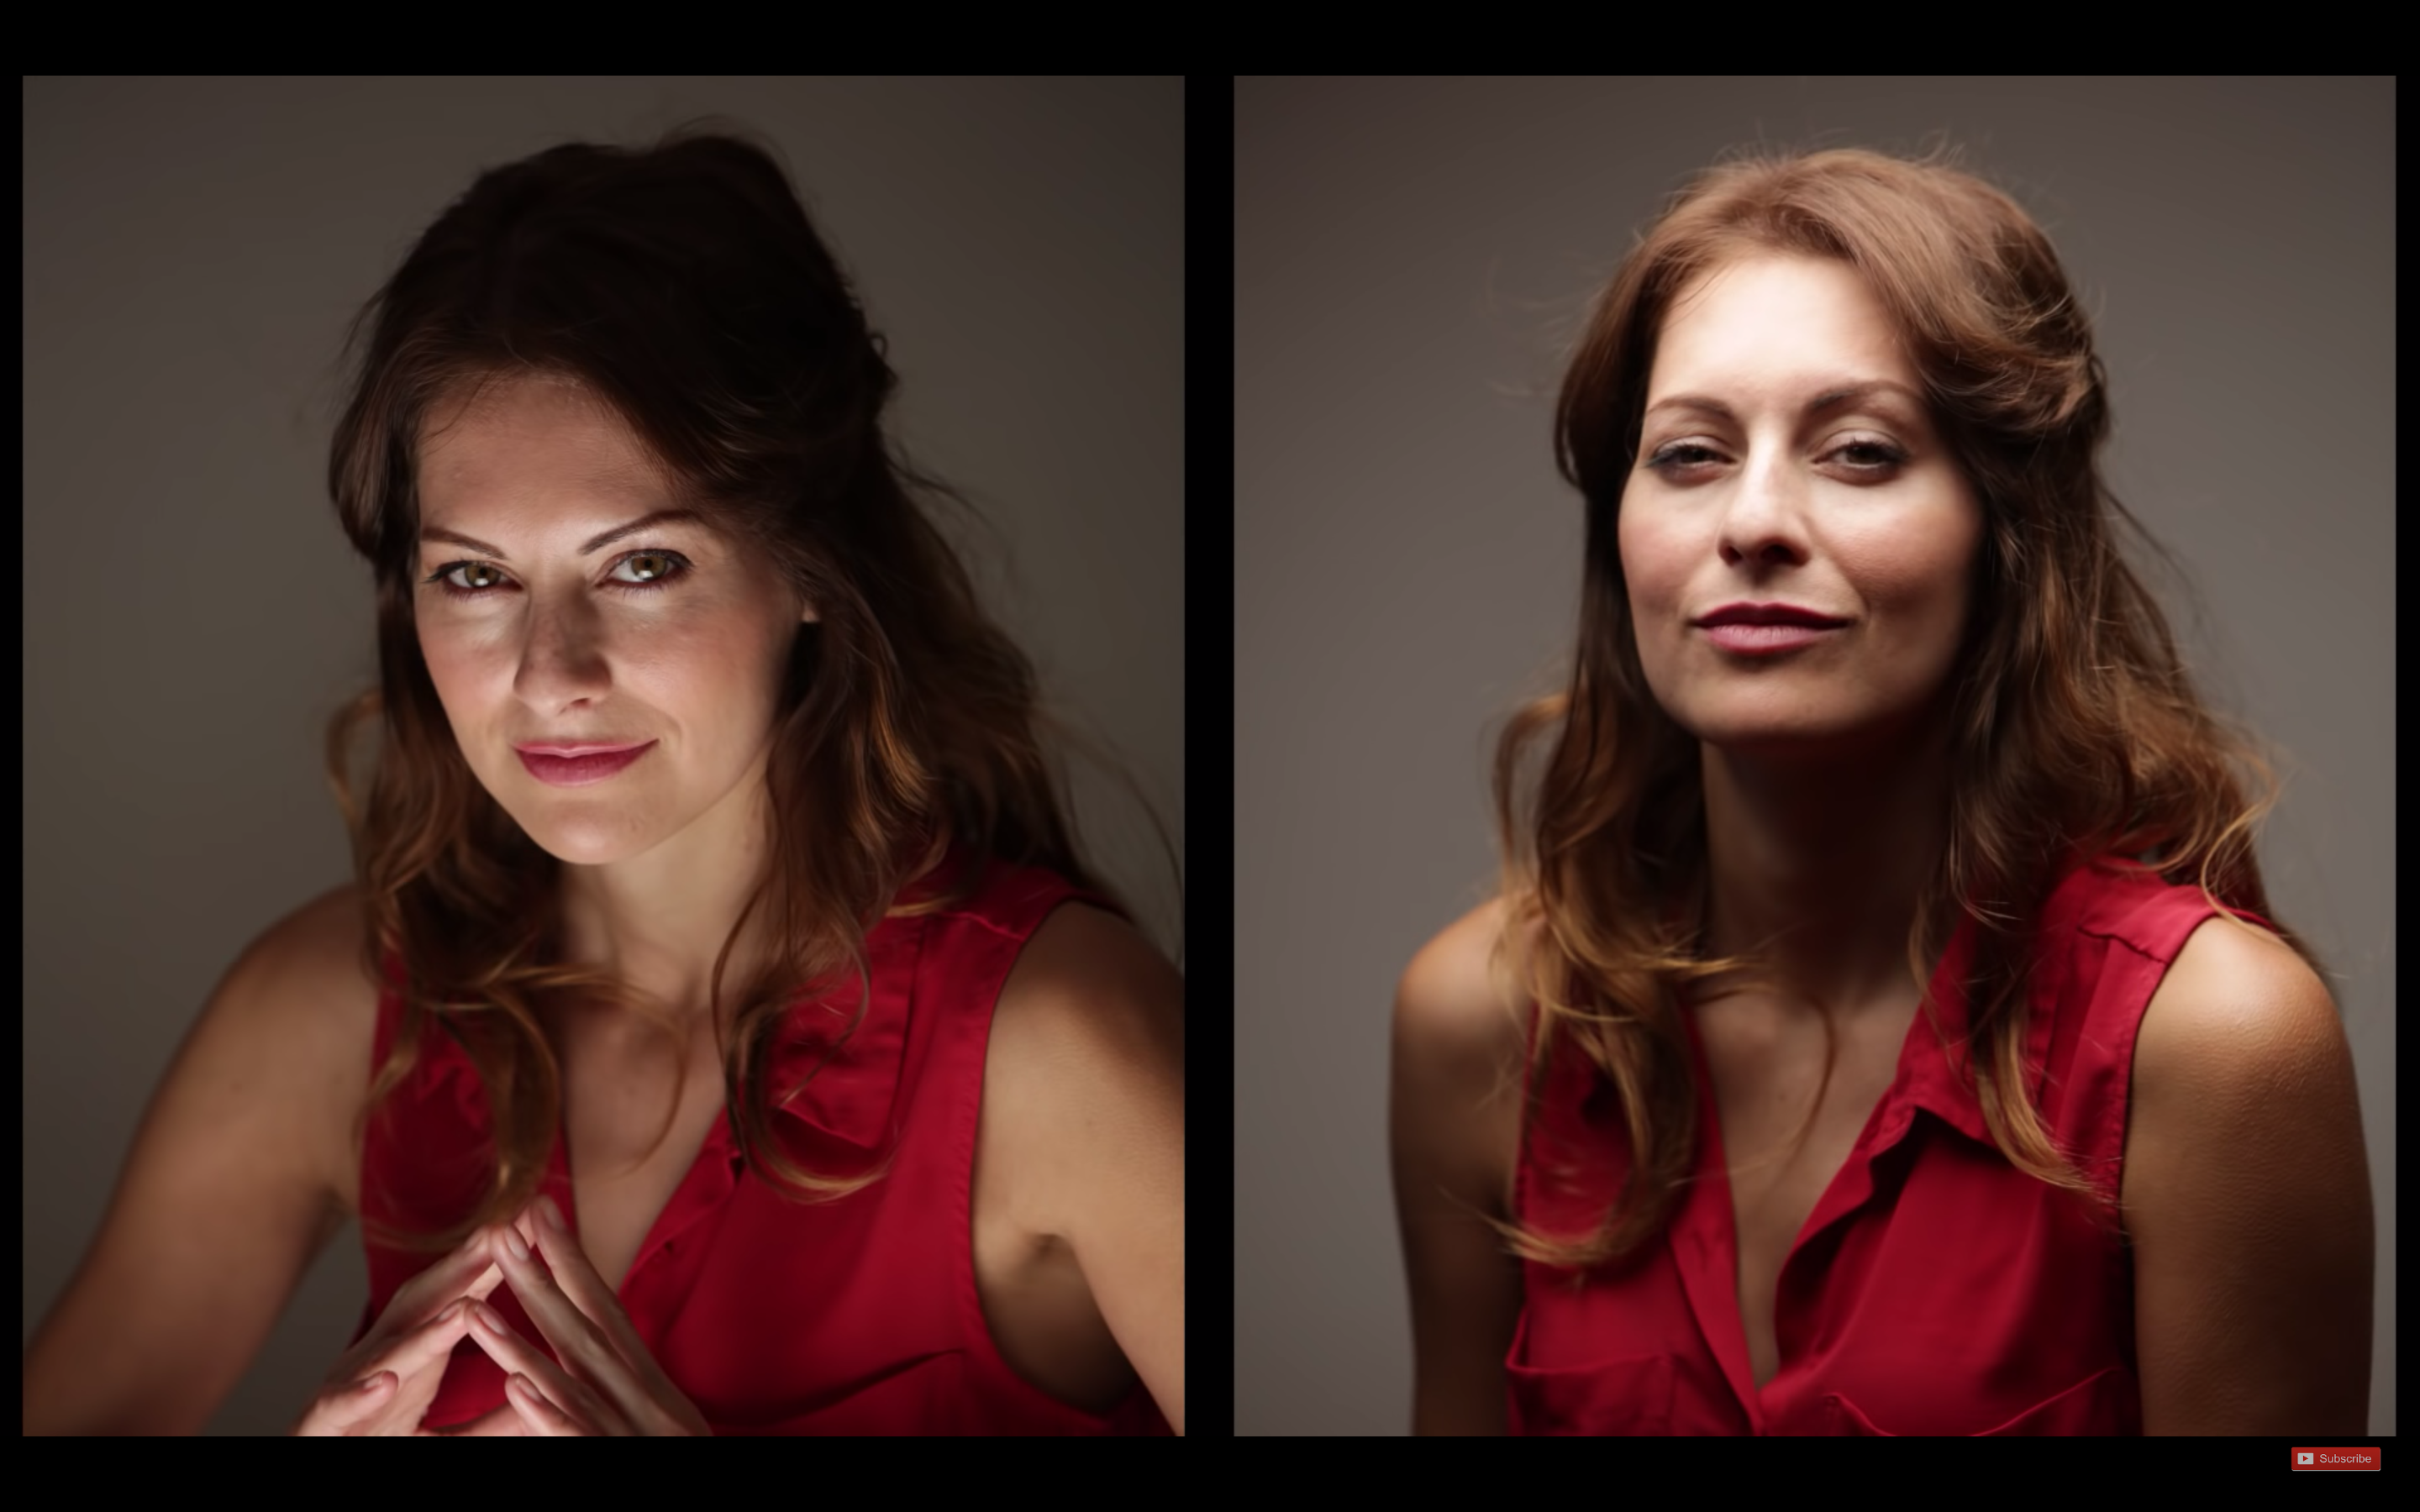
 via Novice to Advanced Marketing System on YouTube
In the same vein, making sure your webcam lighting is balanced is important when making sure you’re visible. If you only have one light above or in front of you, that harsh lighting can cause dark shadows on your face or your background. Use multiple light sources from different angles to balance out your lighting and put your best face forward.
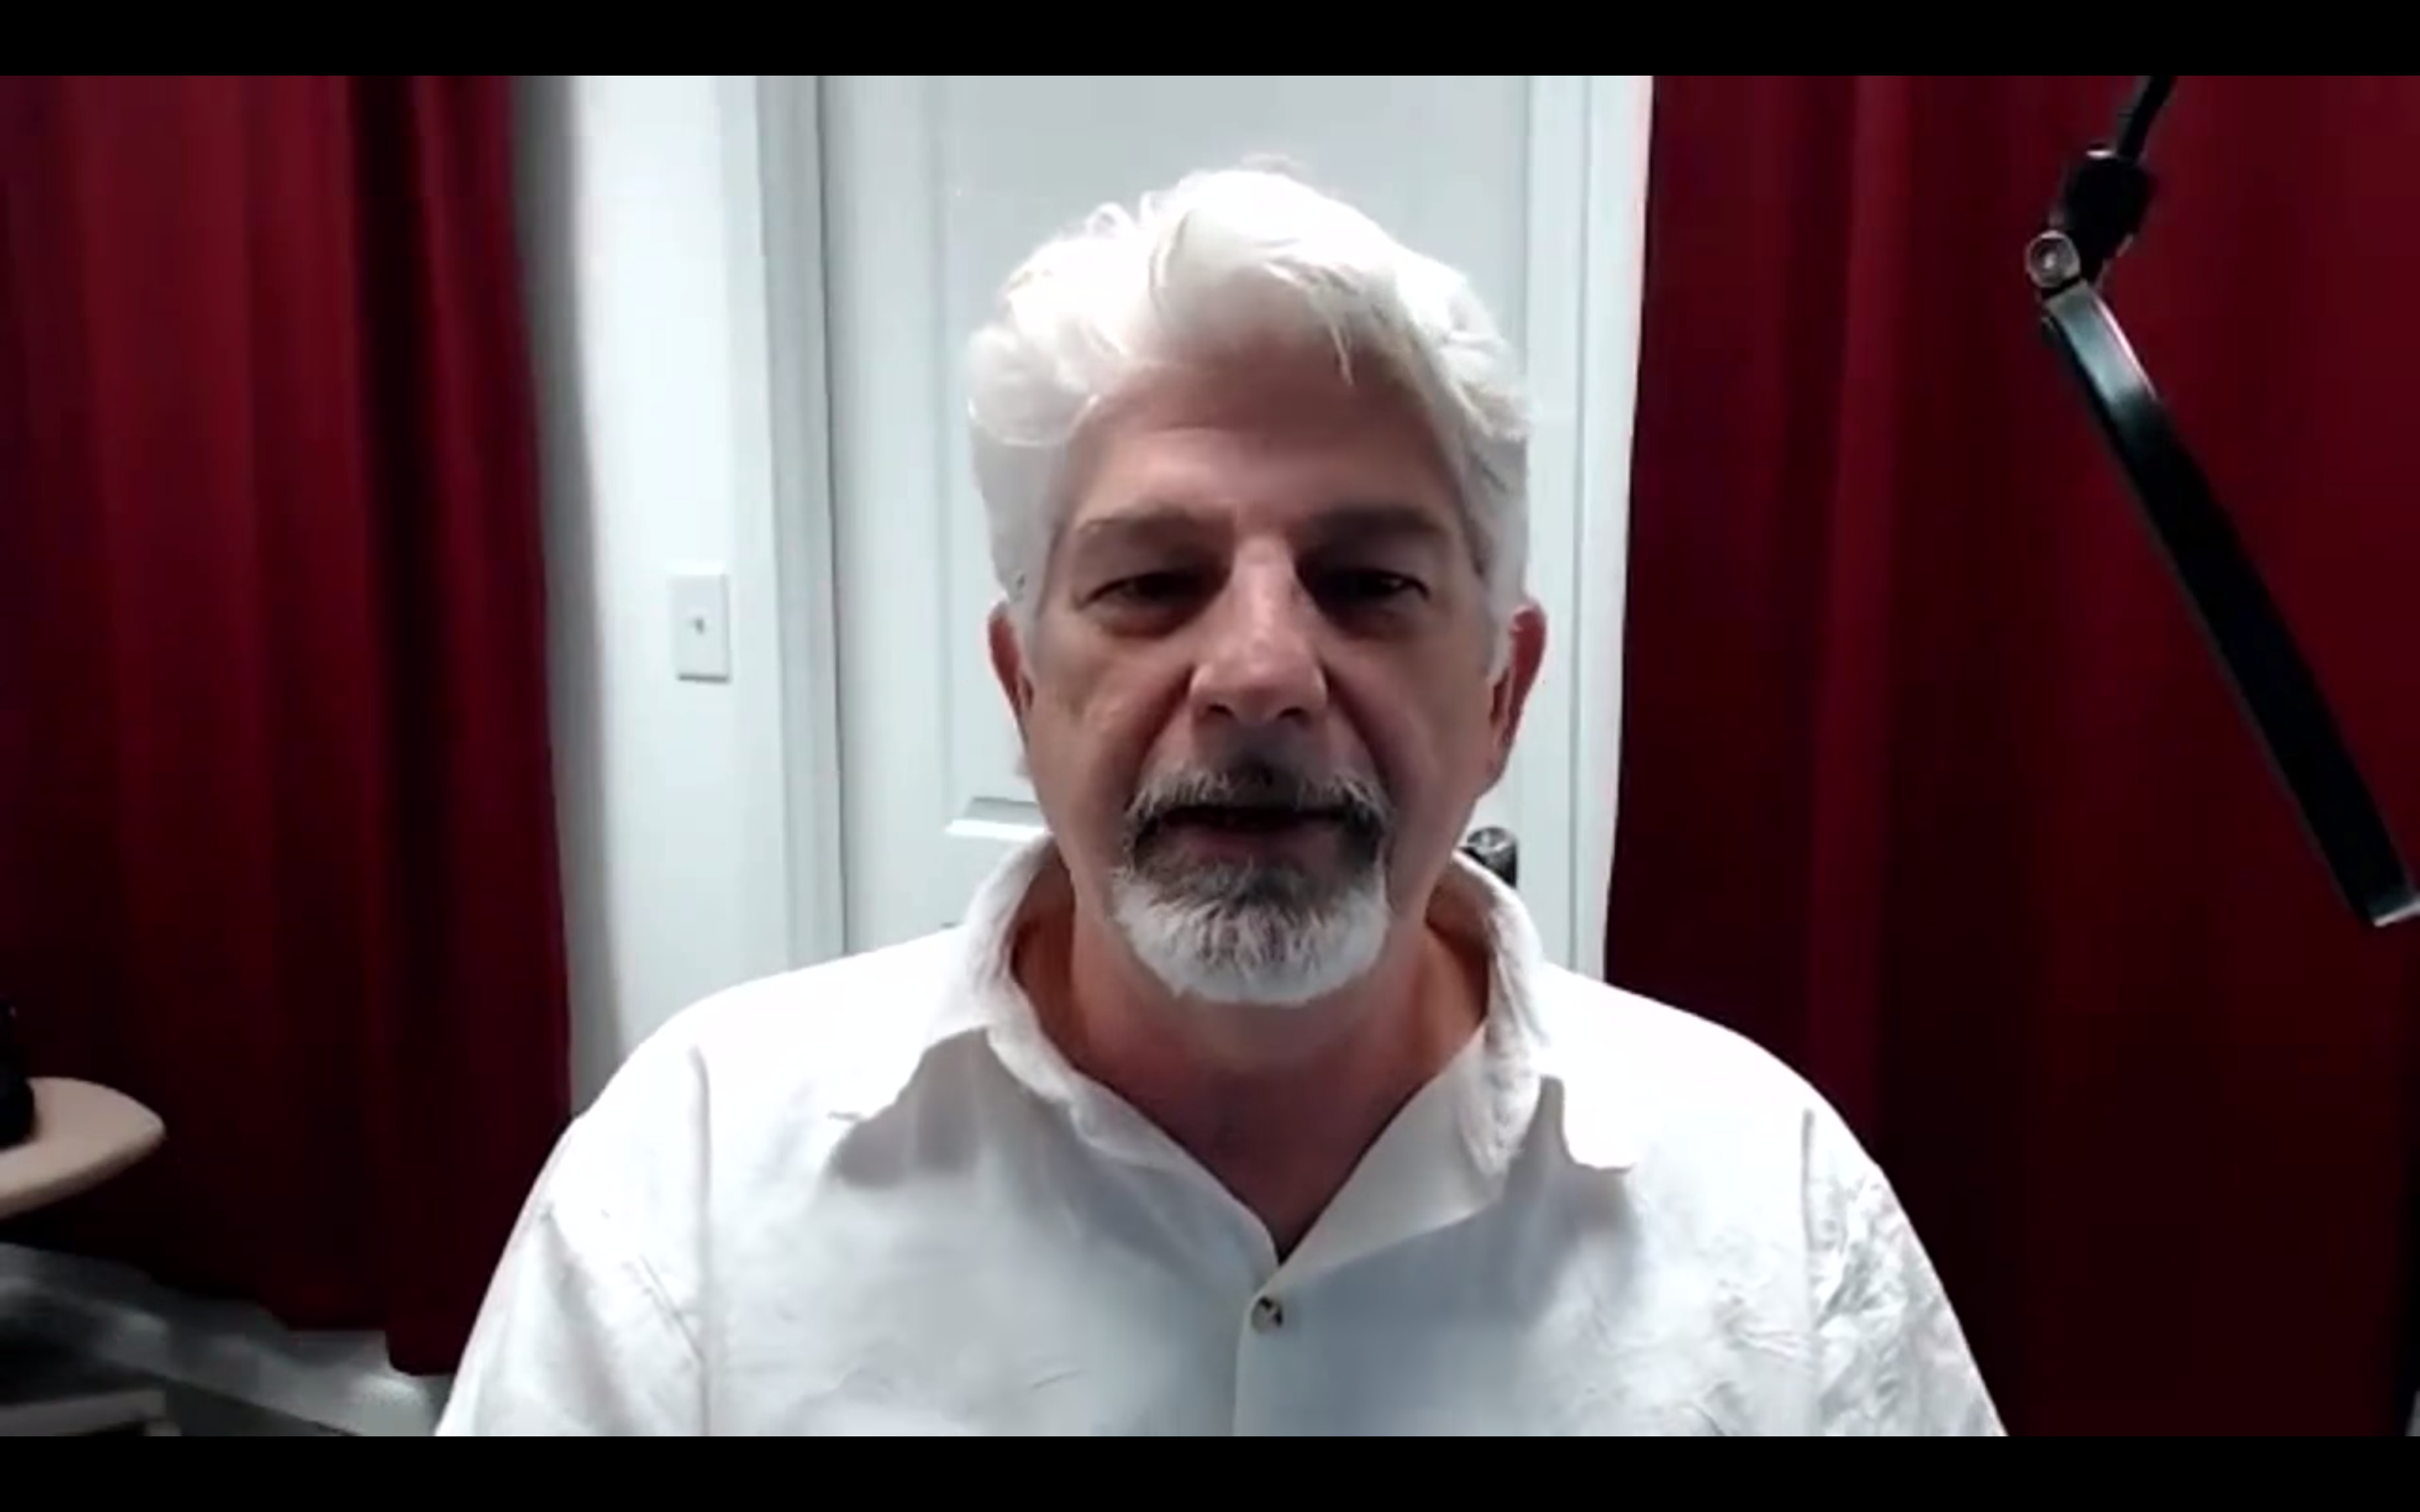
Give yourself space
You may have the best lighting equipment, but if your light source is too bright, it can wash out your face and make it difficult to concentrate on your facial features. Even the most popular YouTube stars aren’t immune to this; before proper lighting techniques were widely known, many early YouTubers over-lit themselves and made it difficult to see what exactly they were doing.
To fix this, try moving your lighting source further away from your face and let your camera automatically adjust the balance. If that’s still too bright, try diffusing the light with a professional light diffuser or make your own with at home with materials like wax paper or tissue paper.
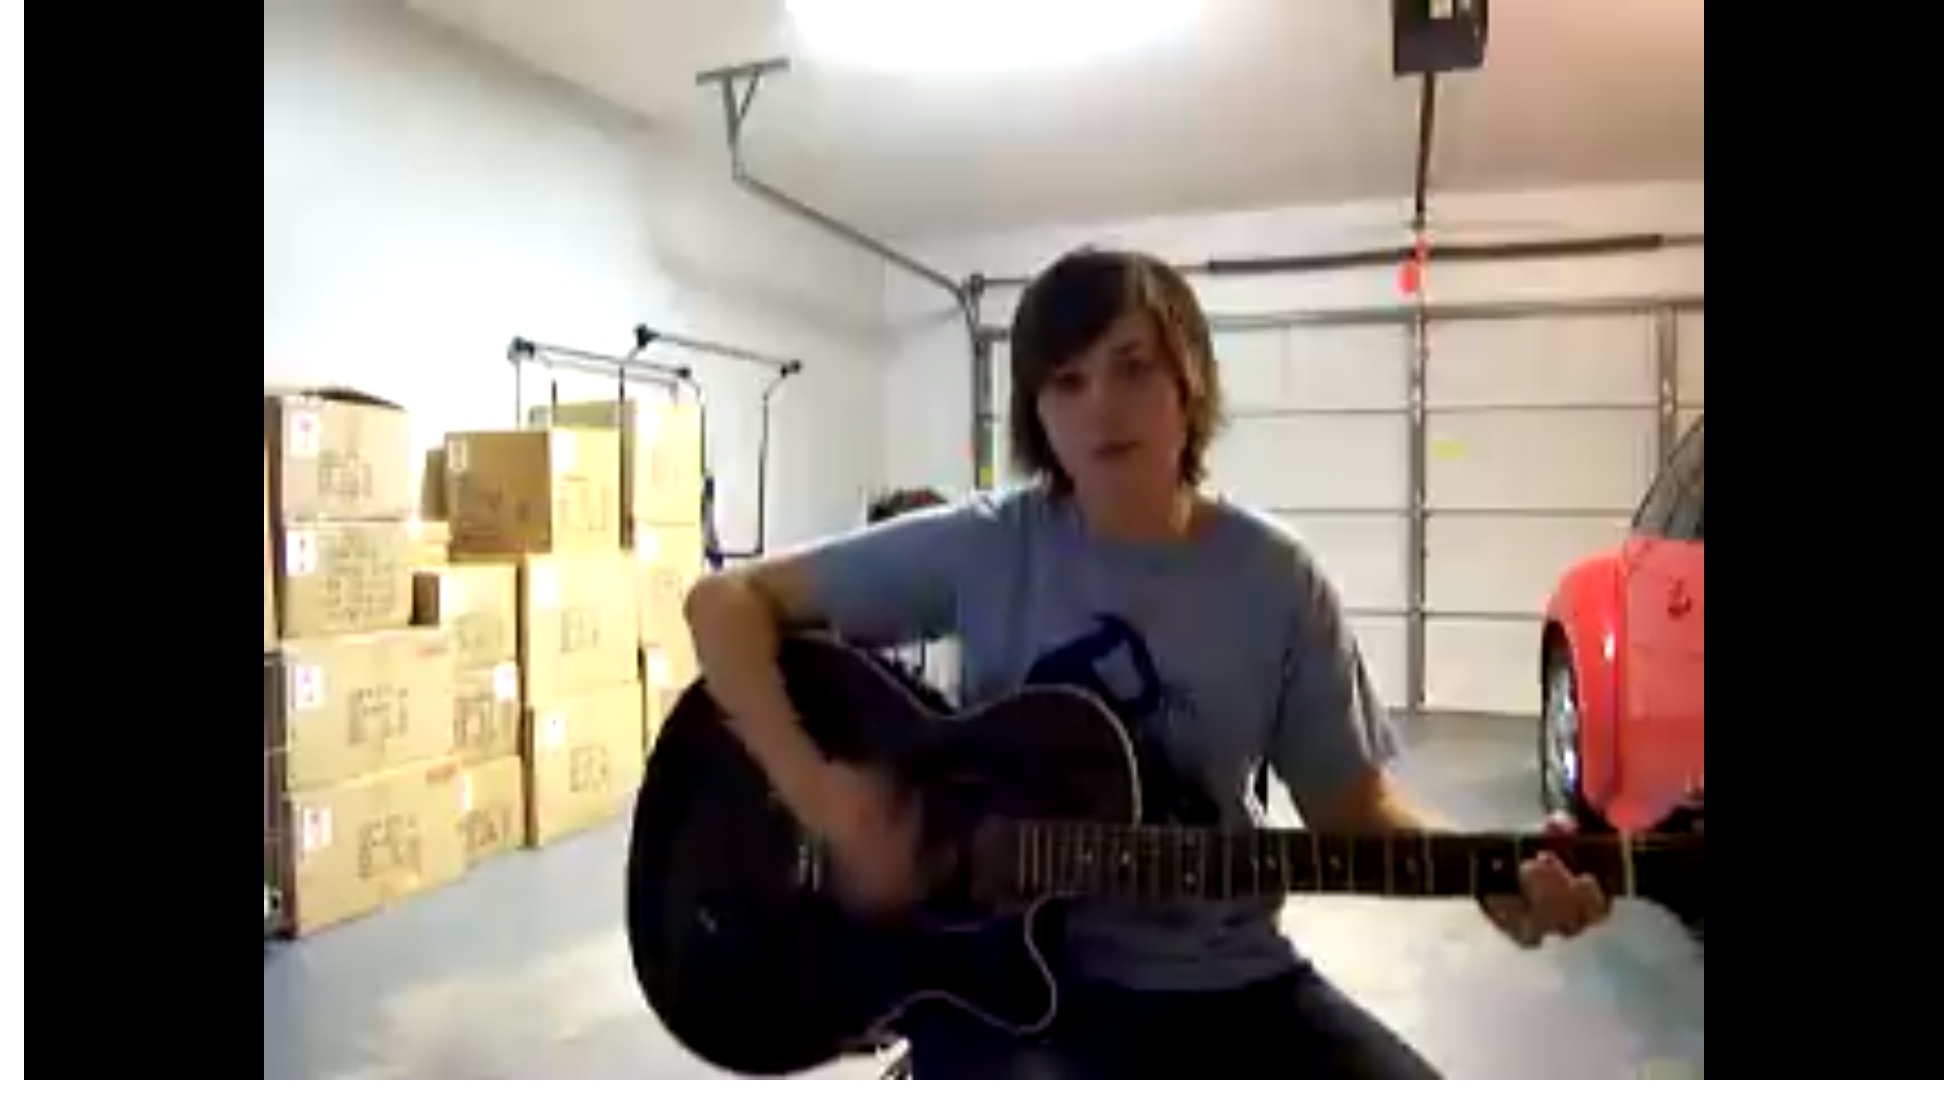
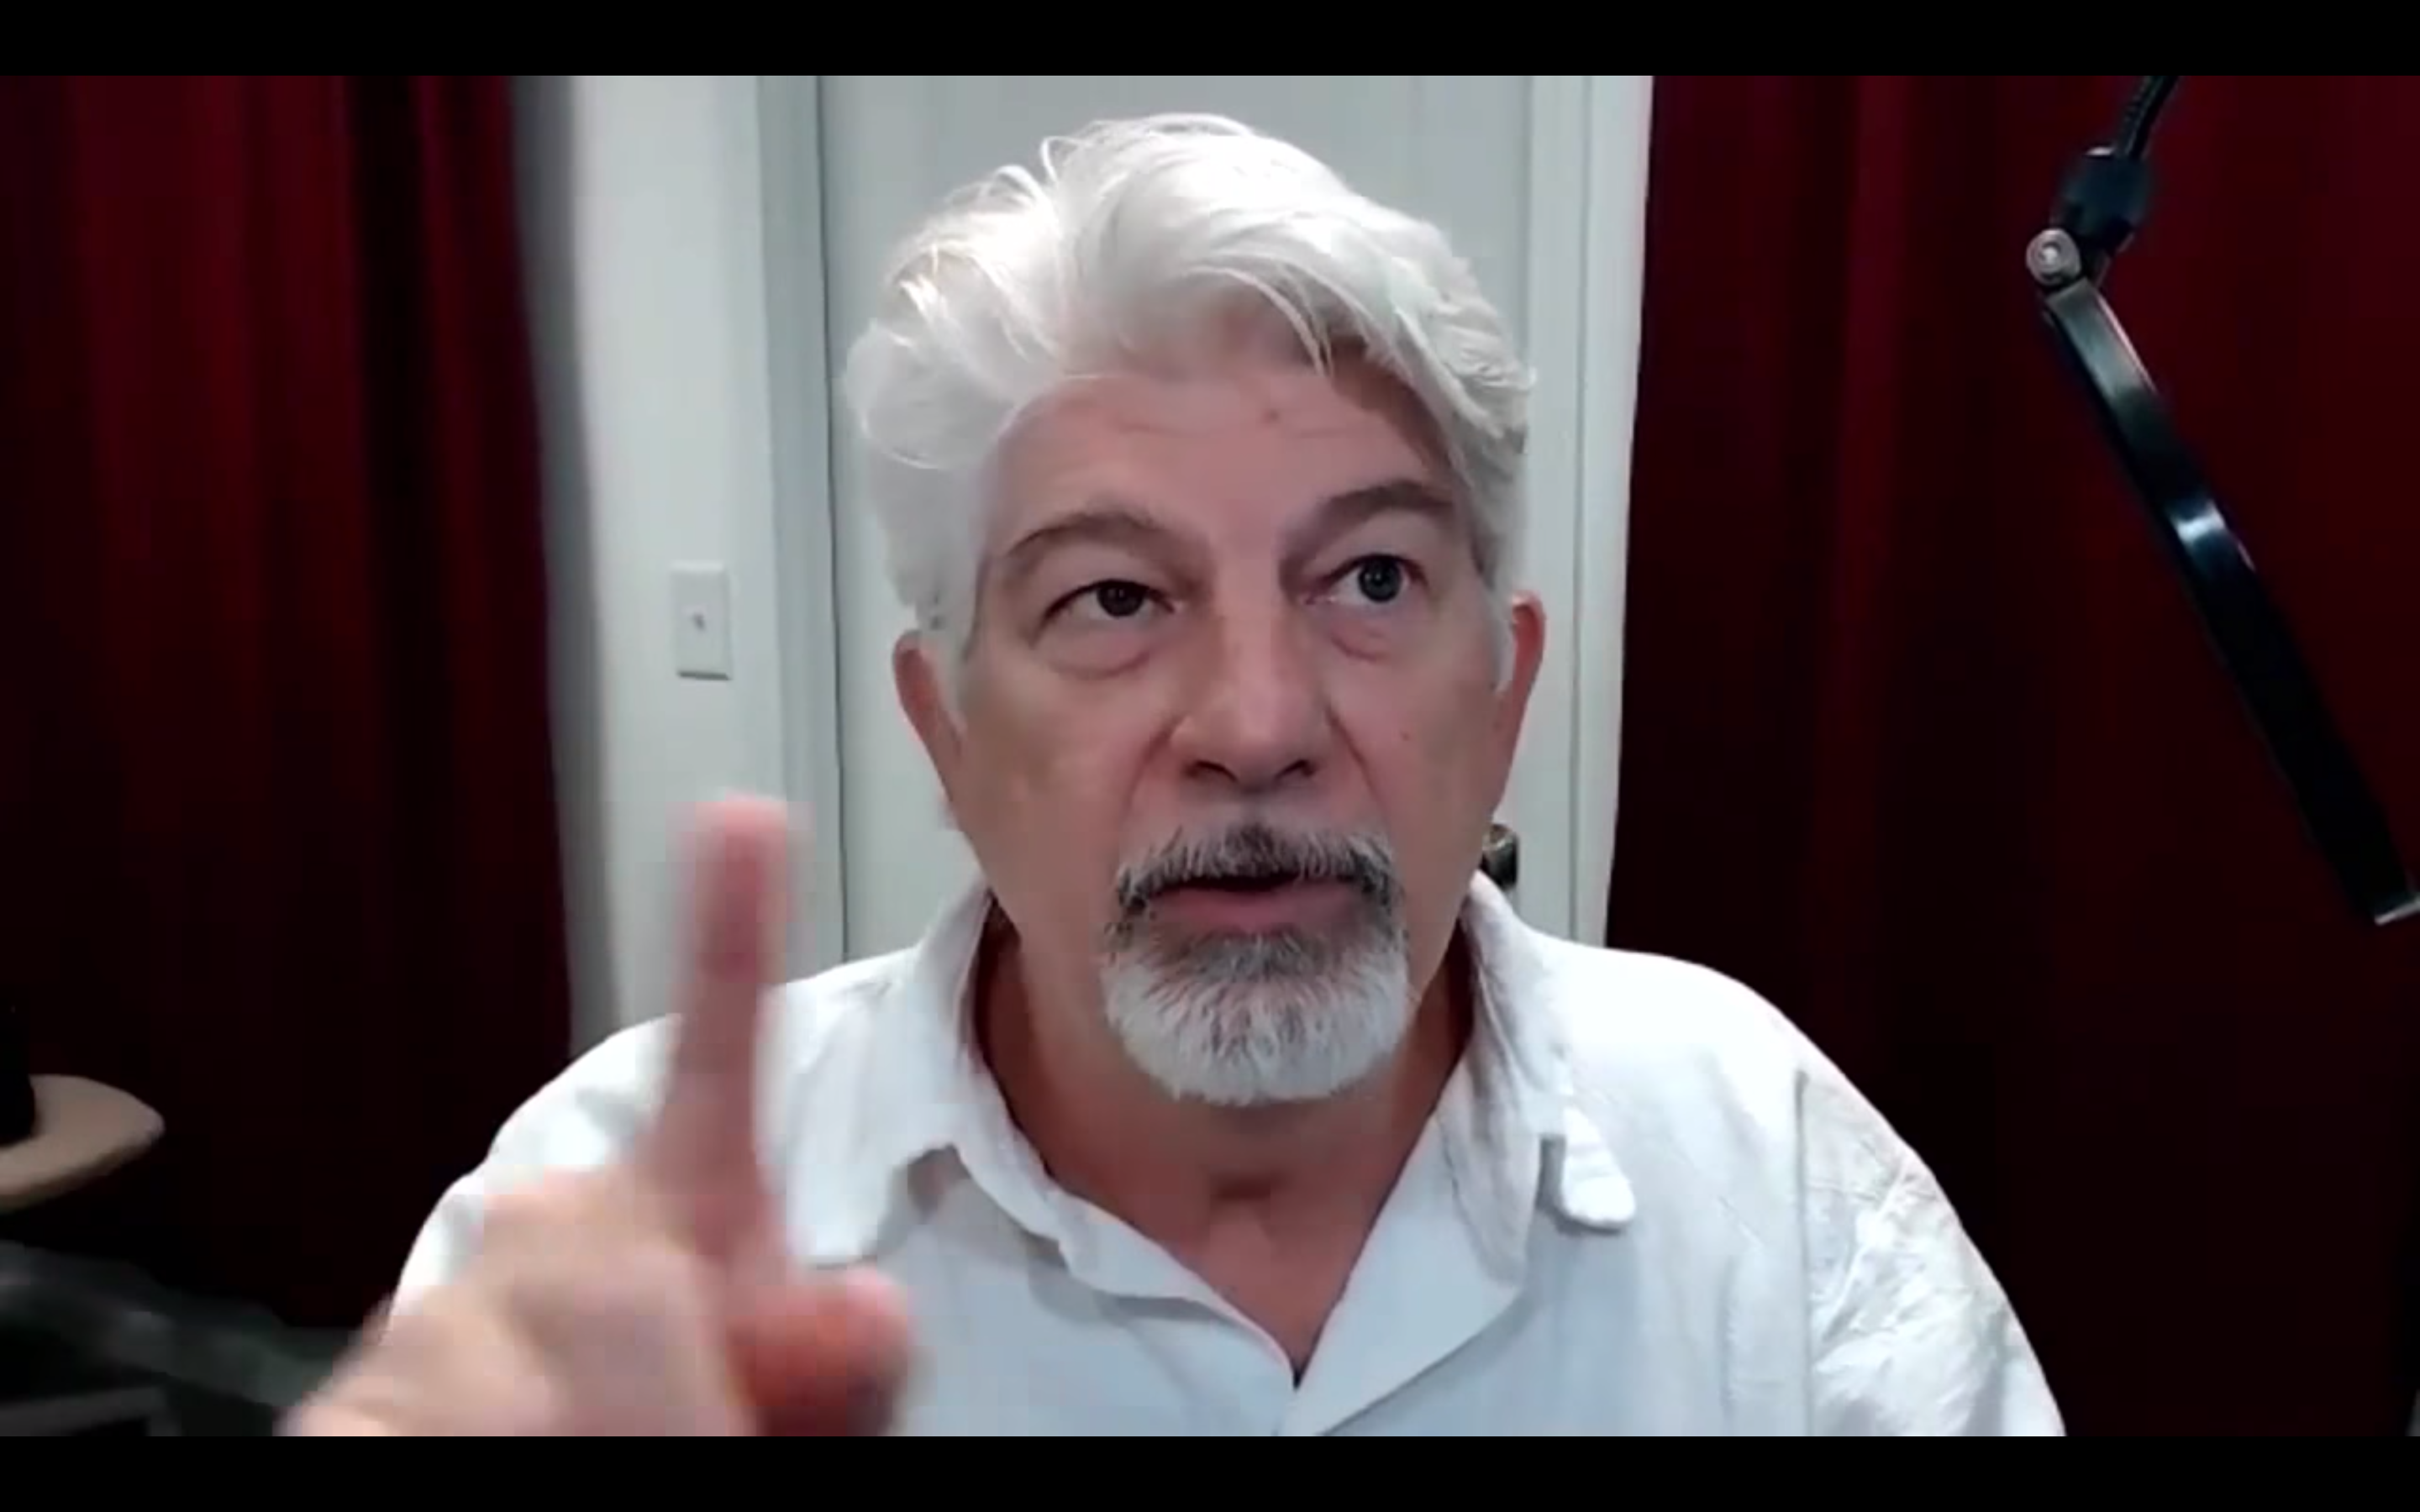
See why proper lighting is important? Not having a light source on your video subject makes it impossible to see much of anything. If you appear too dark in your video, your viewers will look at what is lit—and that could be your distracting background, like a group of boxes stacked on your wall. Make sure the light is on you first and foremost.
Need to see eye-to-eye with your team? Check out our guide to the best screen sharing apps for your business.
Watch your lighting position
When lighting for webcam recording, you have many options as to where you place your lighting. The three-point lighting technique, where one key light is focused on the subject and two softer lights balance out the lighting, is revered among professionals but isn’t necessary for quality lighting.
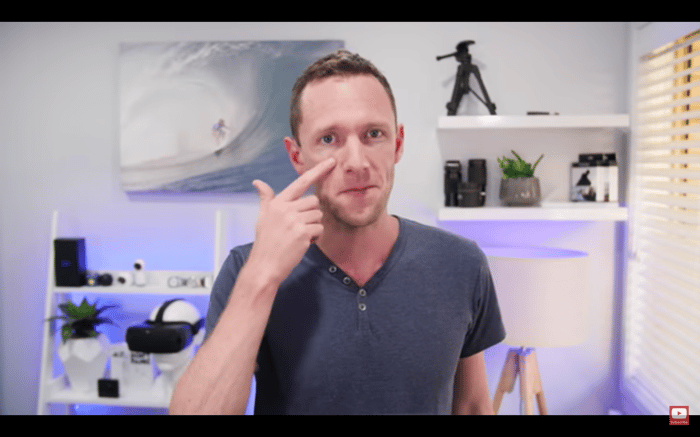 via Justin Brown - Primal Video on YouTube
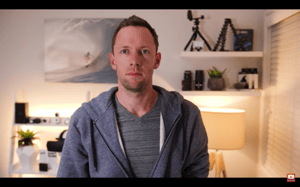
Avoid placing your lighting directly above you, as this can cause some dark and distracting shadows that draw attention away from your face. Straight-on lighting is best, especially if you have a window with natural light on your side to fill out your shadows.
 |
 |
via Justin Brown - Primal Video on YouTube
This is more of a stylistic choice, but avoid harsh side lighting for video when you can. Again, this causes dark shadows on your face and can convey a darker or more solemn mood during your video call. Bright and balanced is best!
via The Slanted Lens on YouTube
Just like lighting from directly above, lighting yourself from below can cast some off-putting shadows. This lighting angle also conveys more of a “horror” film, making you look like a movie villain. Unless that’s your goal, prioritize front-facing lighting.
Get lighting equipment
You don’t need professional light equipment, but it is the best lighting for webcam scenarios. These tools help you find the proper light balance and fill, and will ultimately help you look sharp over webcam:
- “Daylight” light bulbs offer bright and natural-looking lighting (no yellow lamplights!)
- Ring lights for webcams are popular for vloggers and models for a naturally balanced light source
- Key lights are a good spotlight on a subject and pair well with side lighting from a window or alternate light source for full balance
- Light diffusers help decrease lighting strength or can reflect light for better fill and balance
Test your setup
Once you have your webcam lighting setup ready, be sure to test it before you go live! Open up a tool like Photo Booth on Macbook and adjust your light setup until you look your best.
Pro tip: once you find a setup that works for you, keep it as is! You won’t have to spend more time setting it up for your next video call.
.png?width=710&name=blog-header%20(1).png)